How to Use the SKEDit Auto-Responder
Learn how to create an Auto-Responder rule, configure its settings, and manage automatic replies.
Before You Start
The SKEDit Auto-Responder sends automatic replies to incoming messages based on rules you create. This guide walks you through opening the feature, creating a rule, and configuring reply delays.
1. Open the Auto-Responder
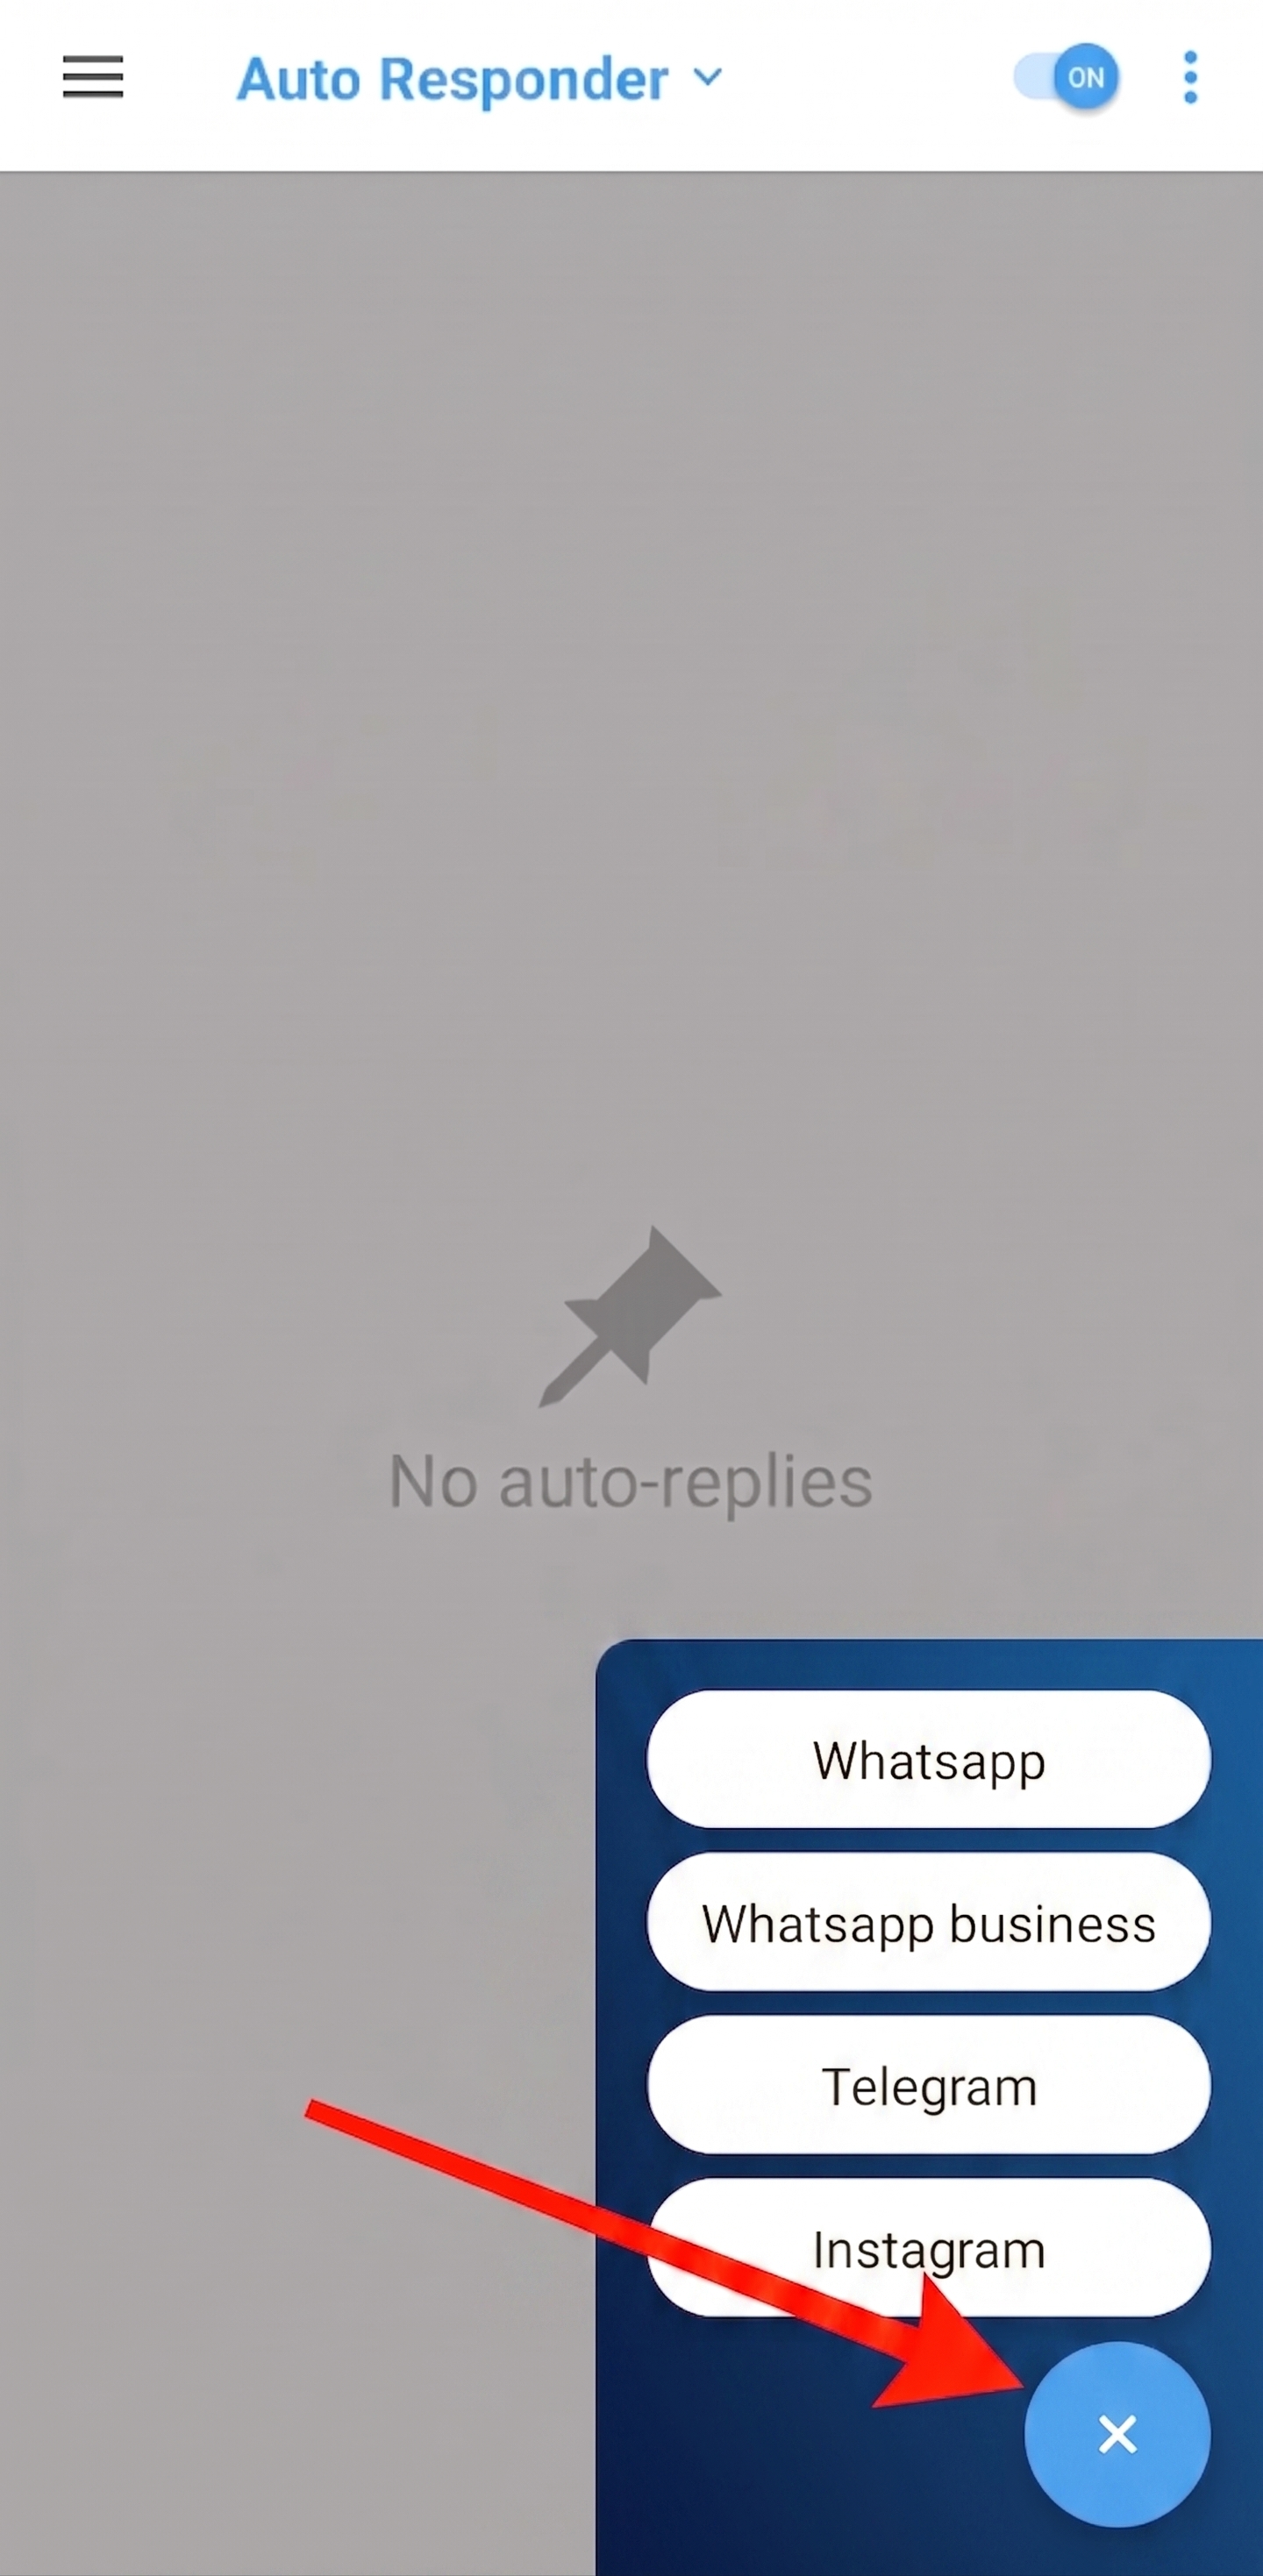
Open the category menu at the top of the home screen and select Auto Responder.
2. Create a New Auto-Responder Rule
On the Auto-Responder screen, tap the (+) button at the bottom right corner and select the channel you want to use. You will be redirected to the rule creation screen.
3. When Auto-Reply Cannot Be Sent
Auto-reply messages will not be sent in the following cases:
- You are viewing the chat conversation inside the messaging app.
- The chat conversation is muted.
- Notifications for the messaging app are disabled.
4. Complete the Requirements Checklist
Before creating the rule, scroll to the bottom of the screen and configure the required items in the checklist:
- Enable Notification Access
- Disable Battery Optimization (and Enable Auto Start if available)
5. Add a Rule Title
Start by entering a Rule Title to identify this auto-reply rule.

6. Activate the Auto-Responder Toggle
Turn on the Auto Responder toggle to activate the rule.

7. Choose Your Contacts Scope
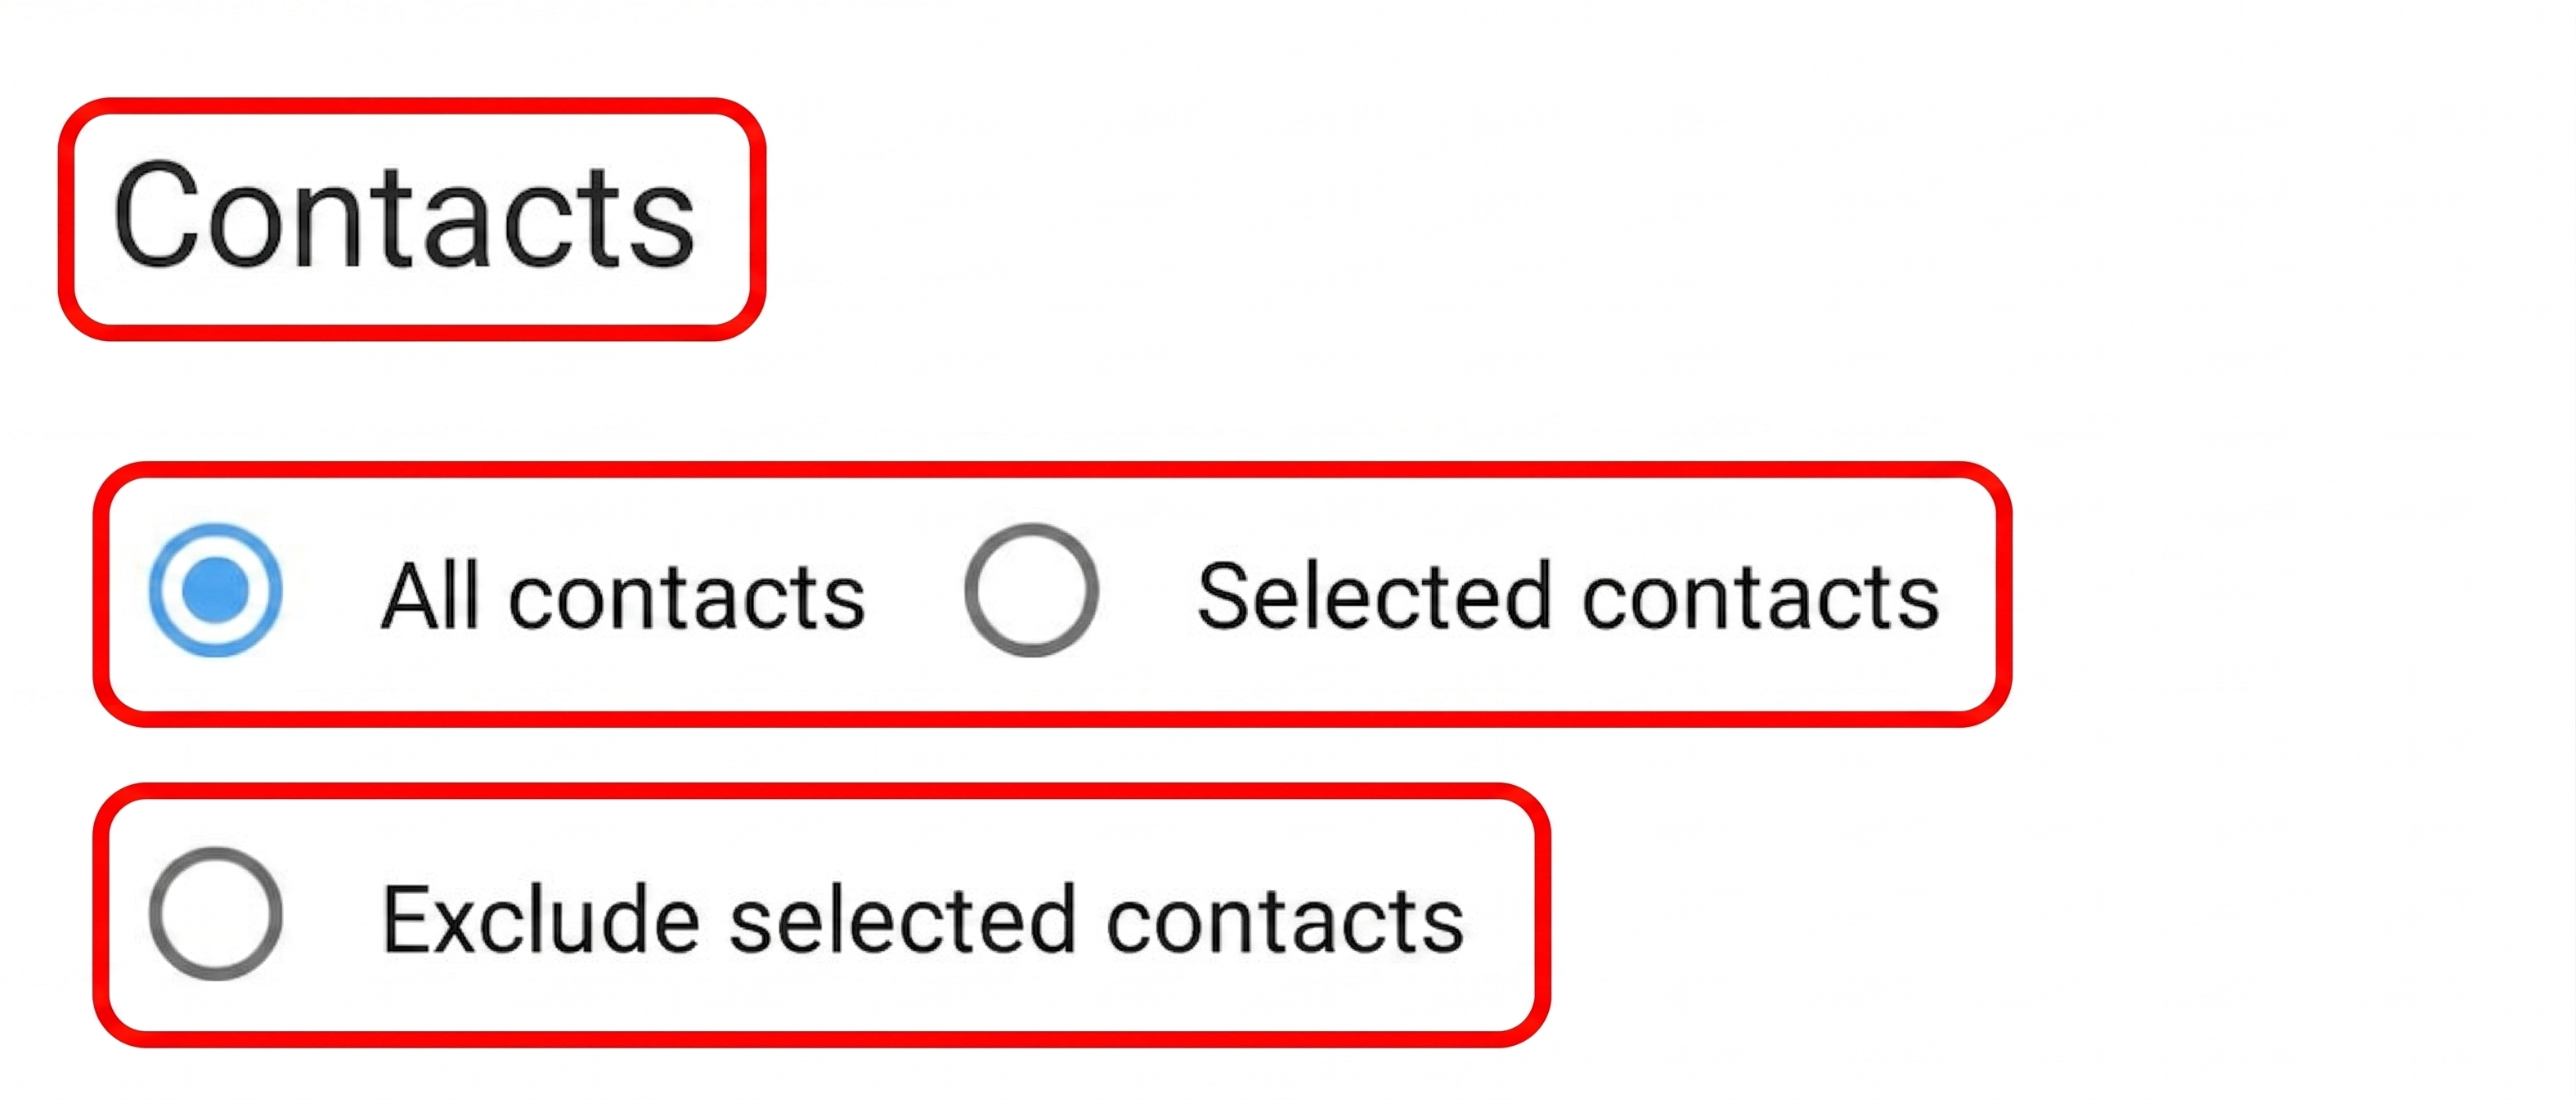
SKEDit supports three contact scope options for the Auto-Responder:
- All contacts — the auto-reply is sent to anyone who messages you.
- Selected contacts — only the contacts you choose will receive the auto-reply.
- Exclude selected contacts — everyone receives the auto-reply except the contacts you choose.
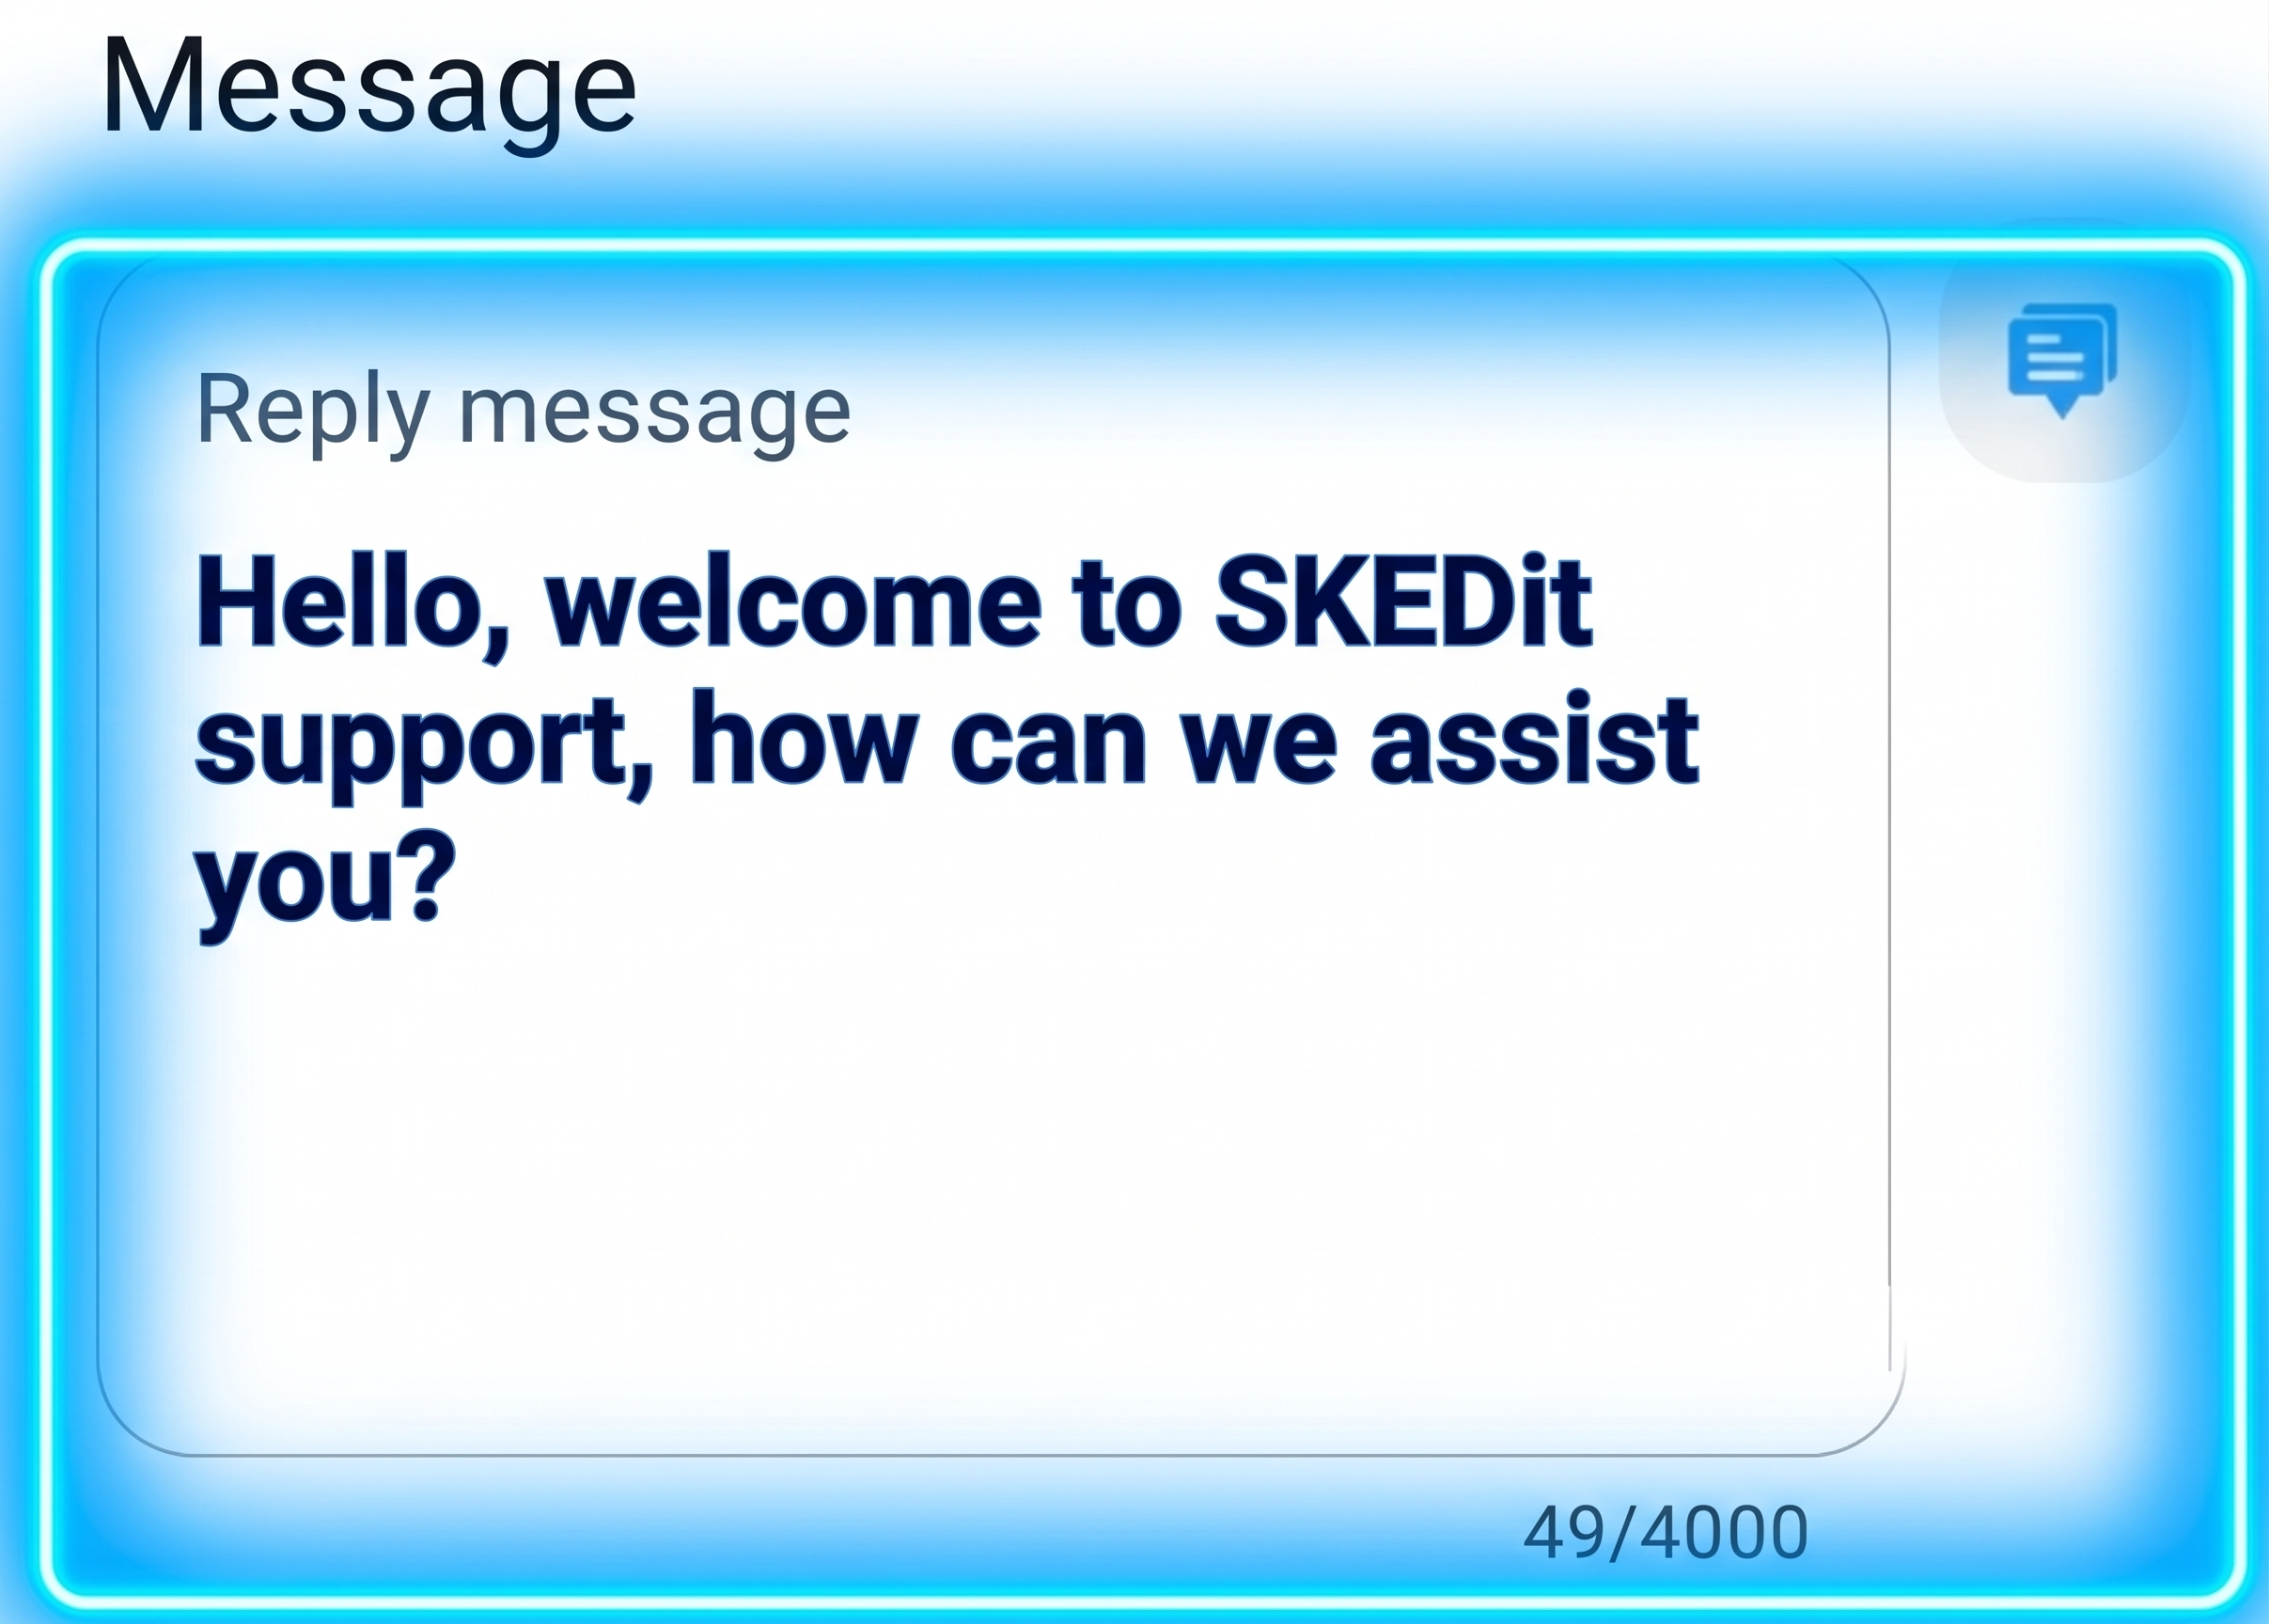
8. Write the Reply Message
Enter your reply in the Message field. The Auto-Responder supports text and links.
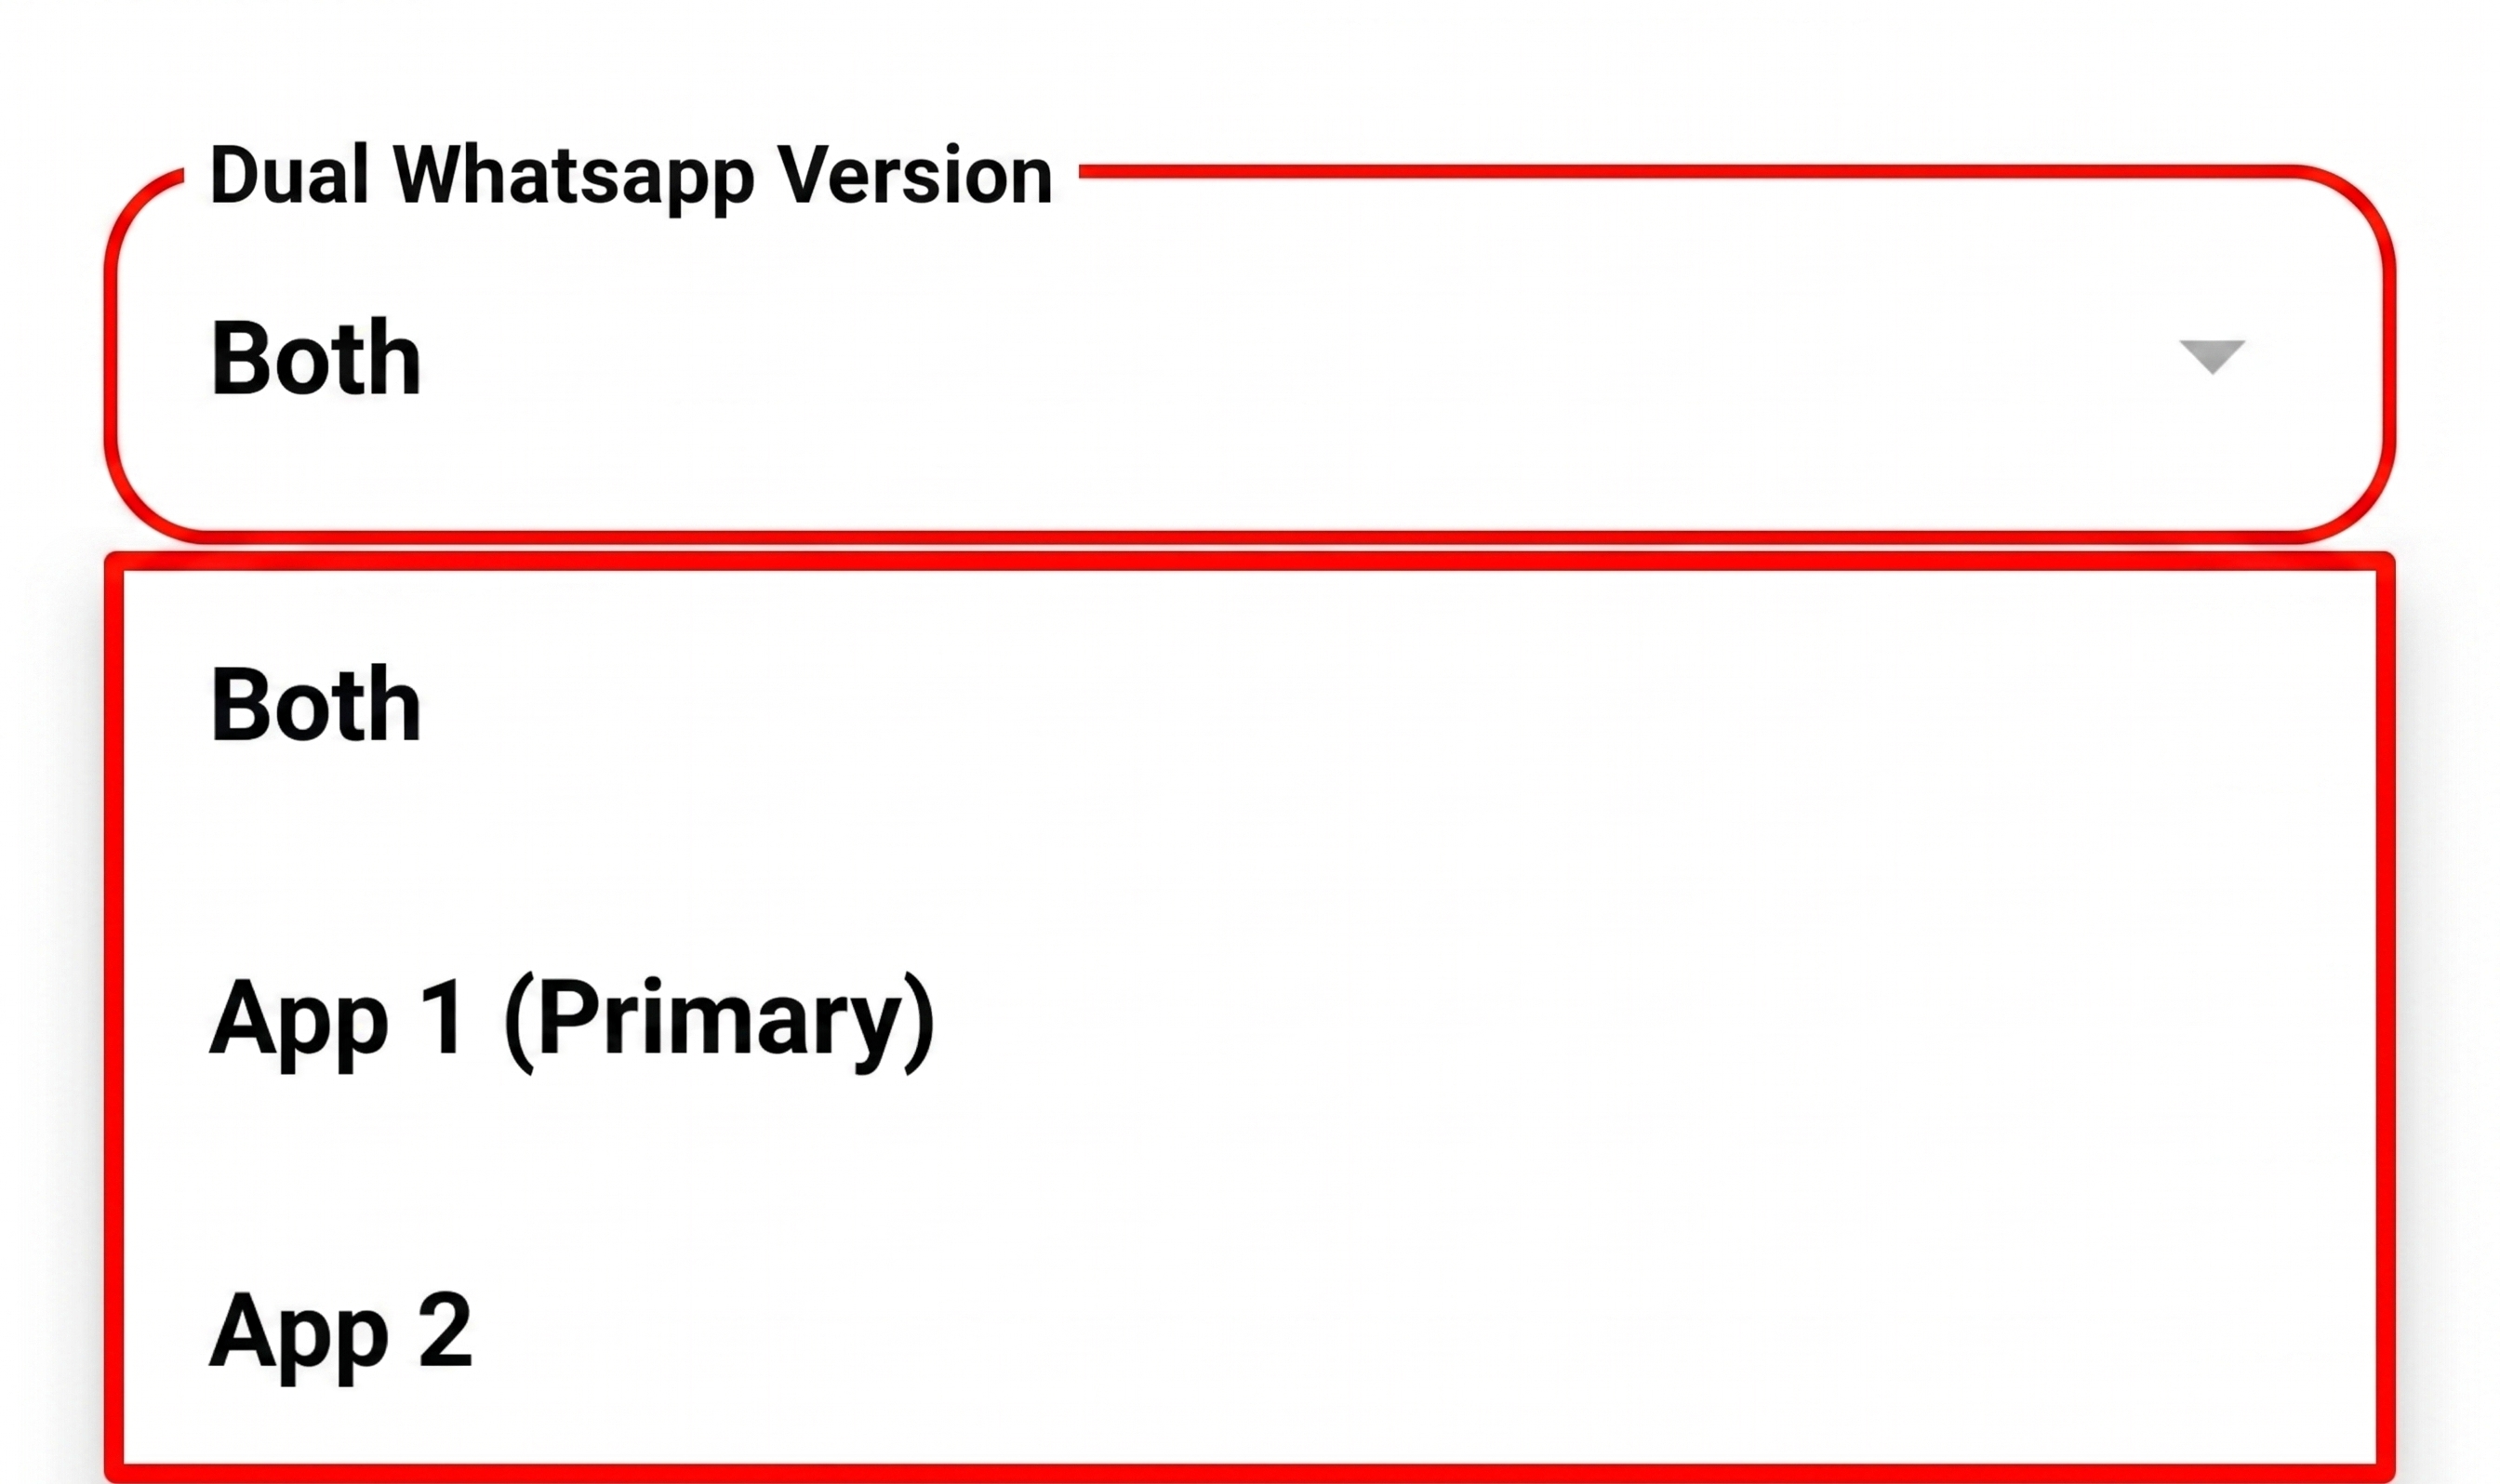
9. Select the Dual WhatsApp Version
SKEDit supports dual WhatsApp. Choose the version the Auto-Responder should run on:
- Both — activates the Auto-Responder on both WhatsApp apps.
- App 1 (Primary) — activates only on the primary WhatsApp.
- App 2 — activates only on the secondary WhatsApp.
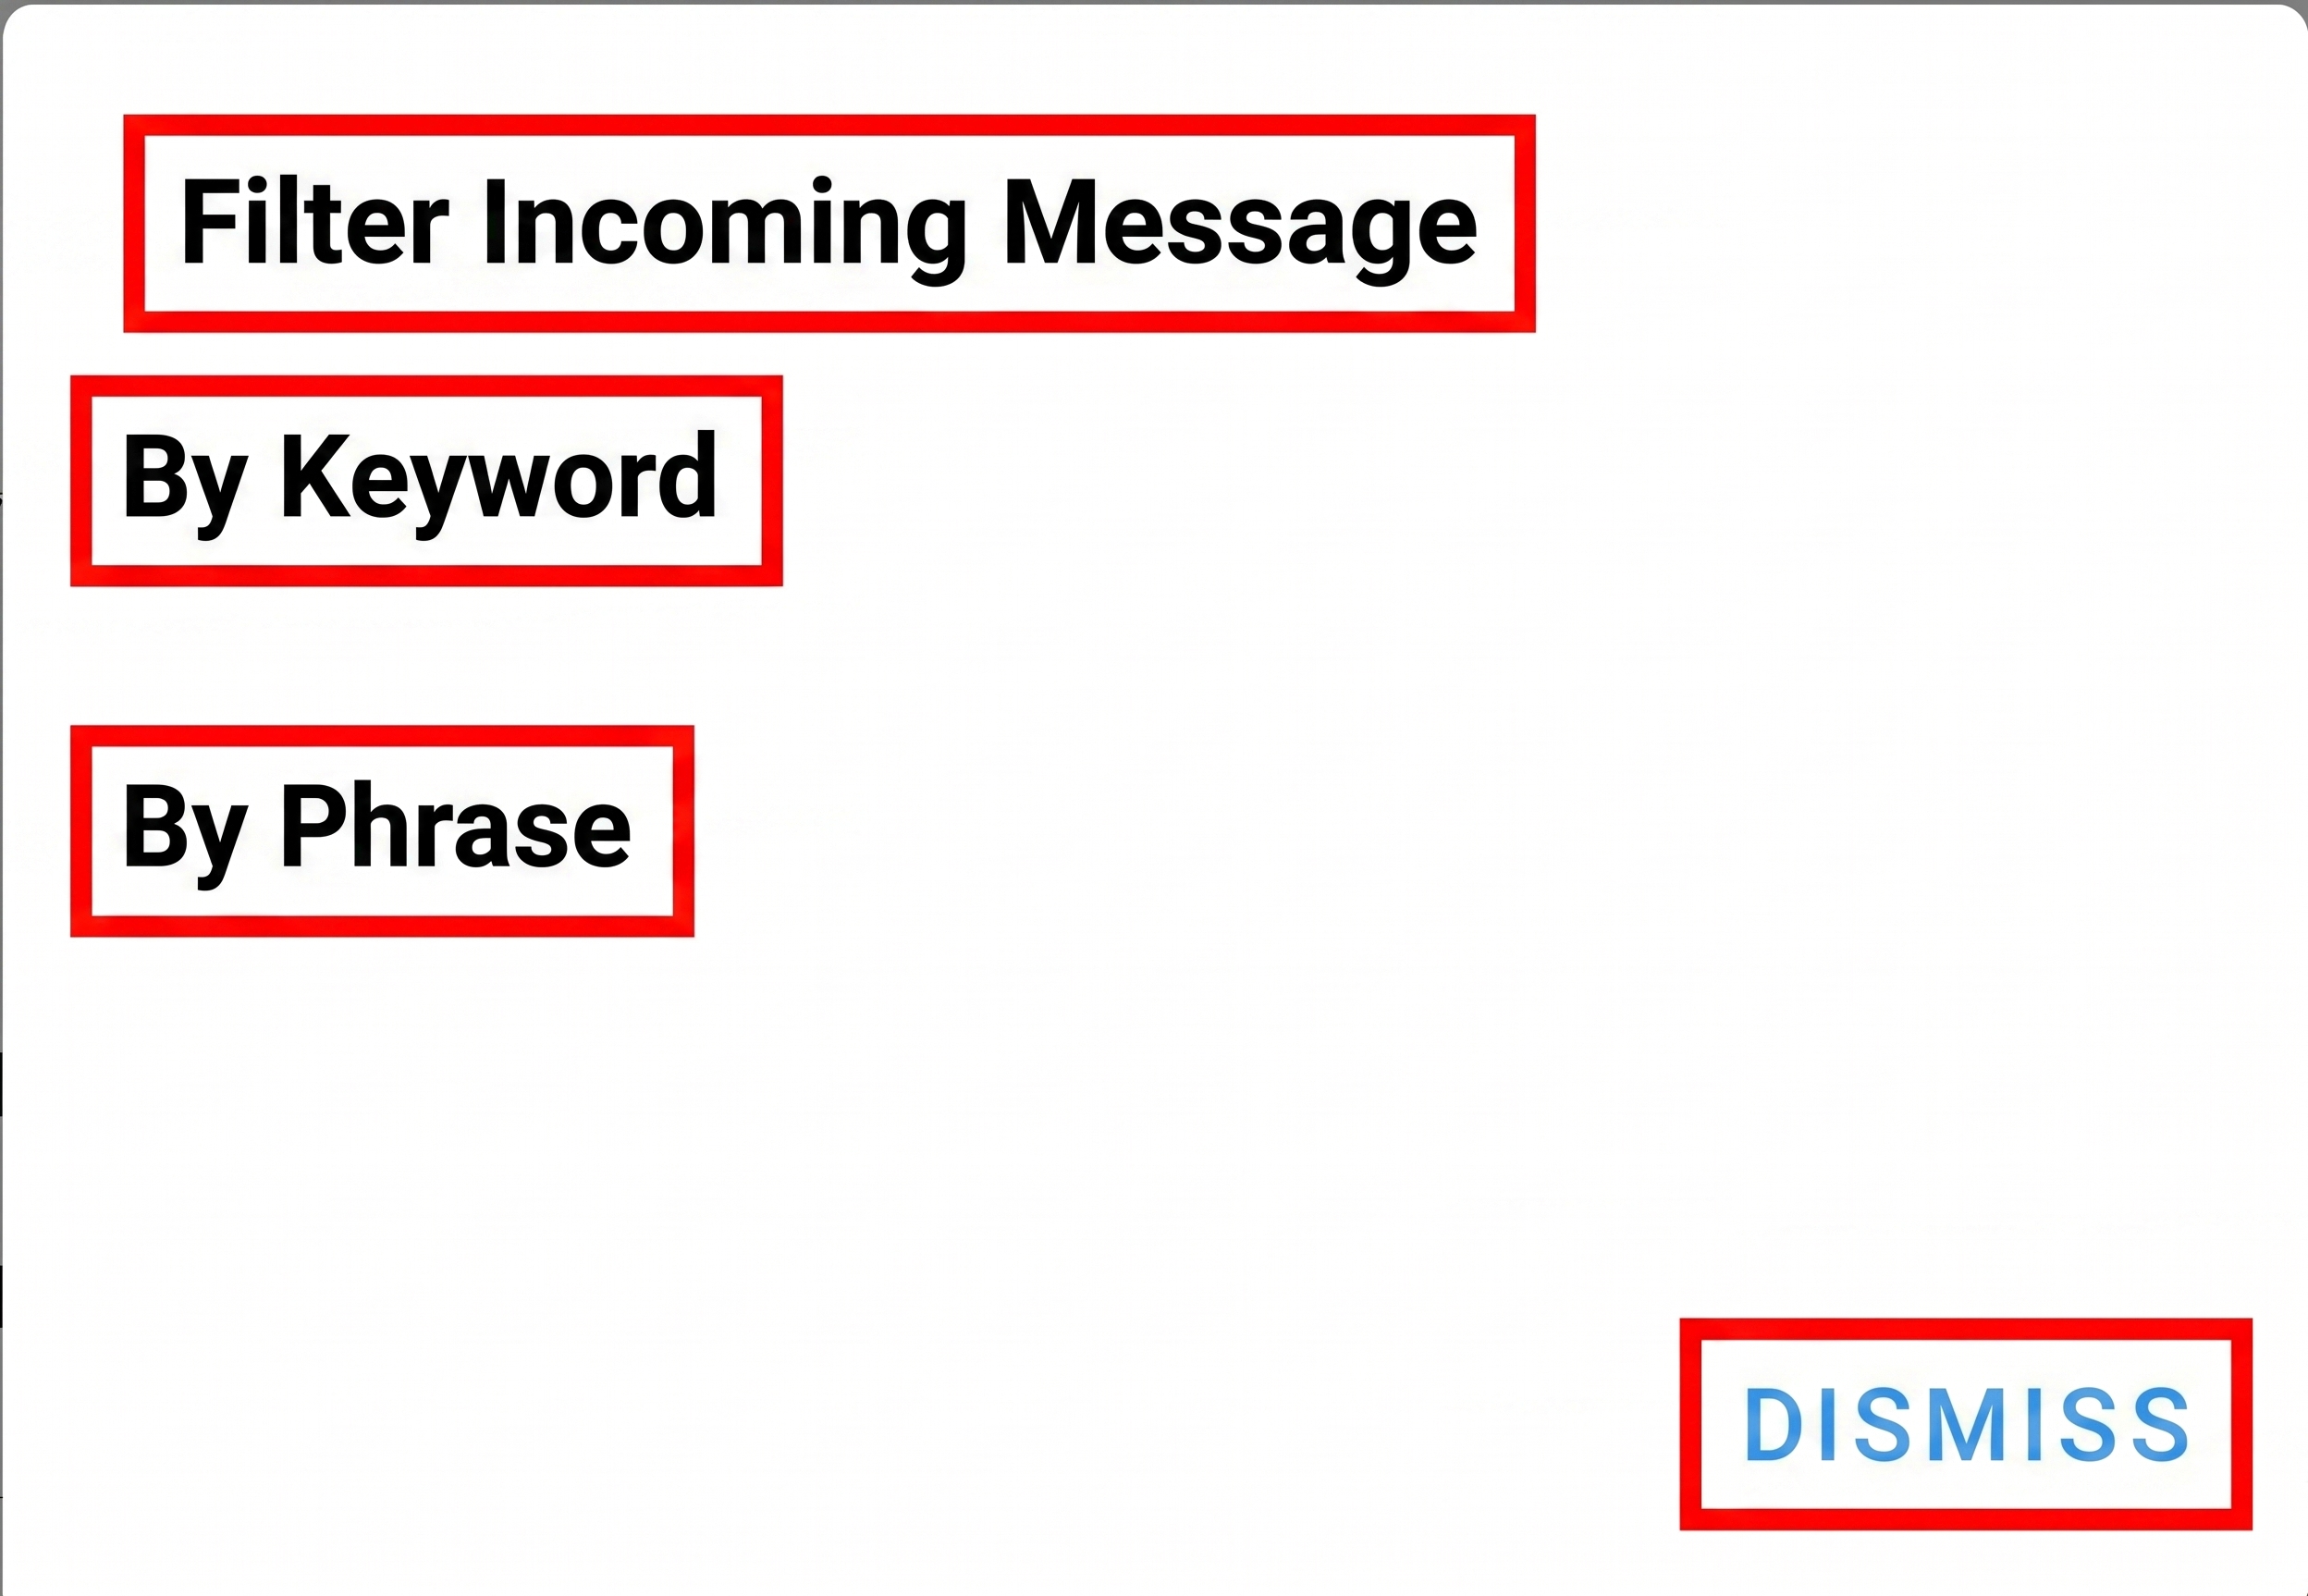
10. Filter Incoming Messages
You can trigger the rule based on what the incoming message contains:
- By Keyword — triggers when a specific word is received (e.g. SKEDit, April).
- By Phrase — triggers when a specific phrase is received.
We recommend using By Keyword for broader matching.
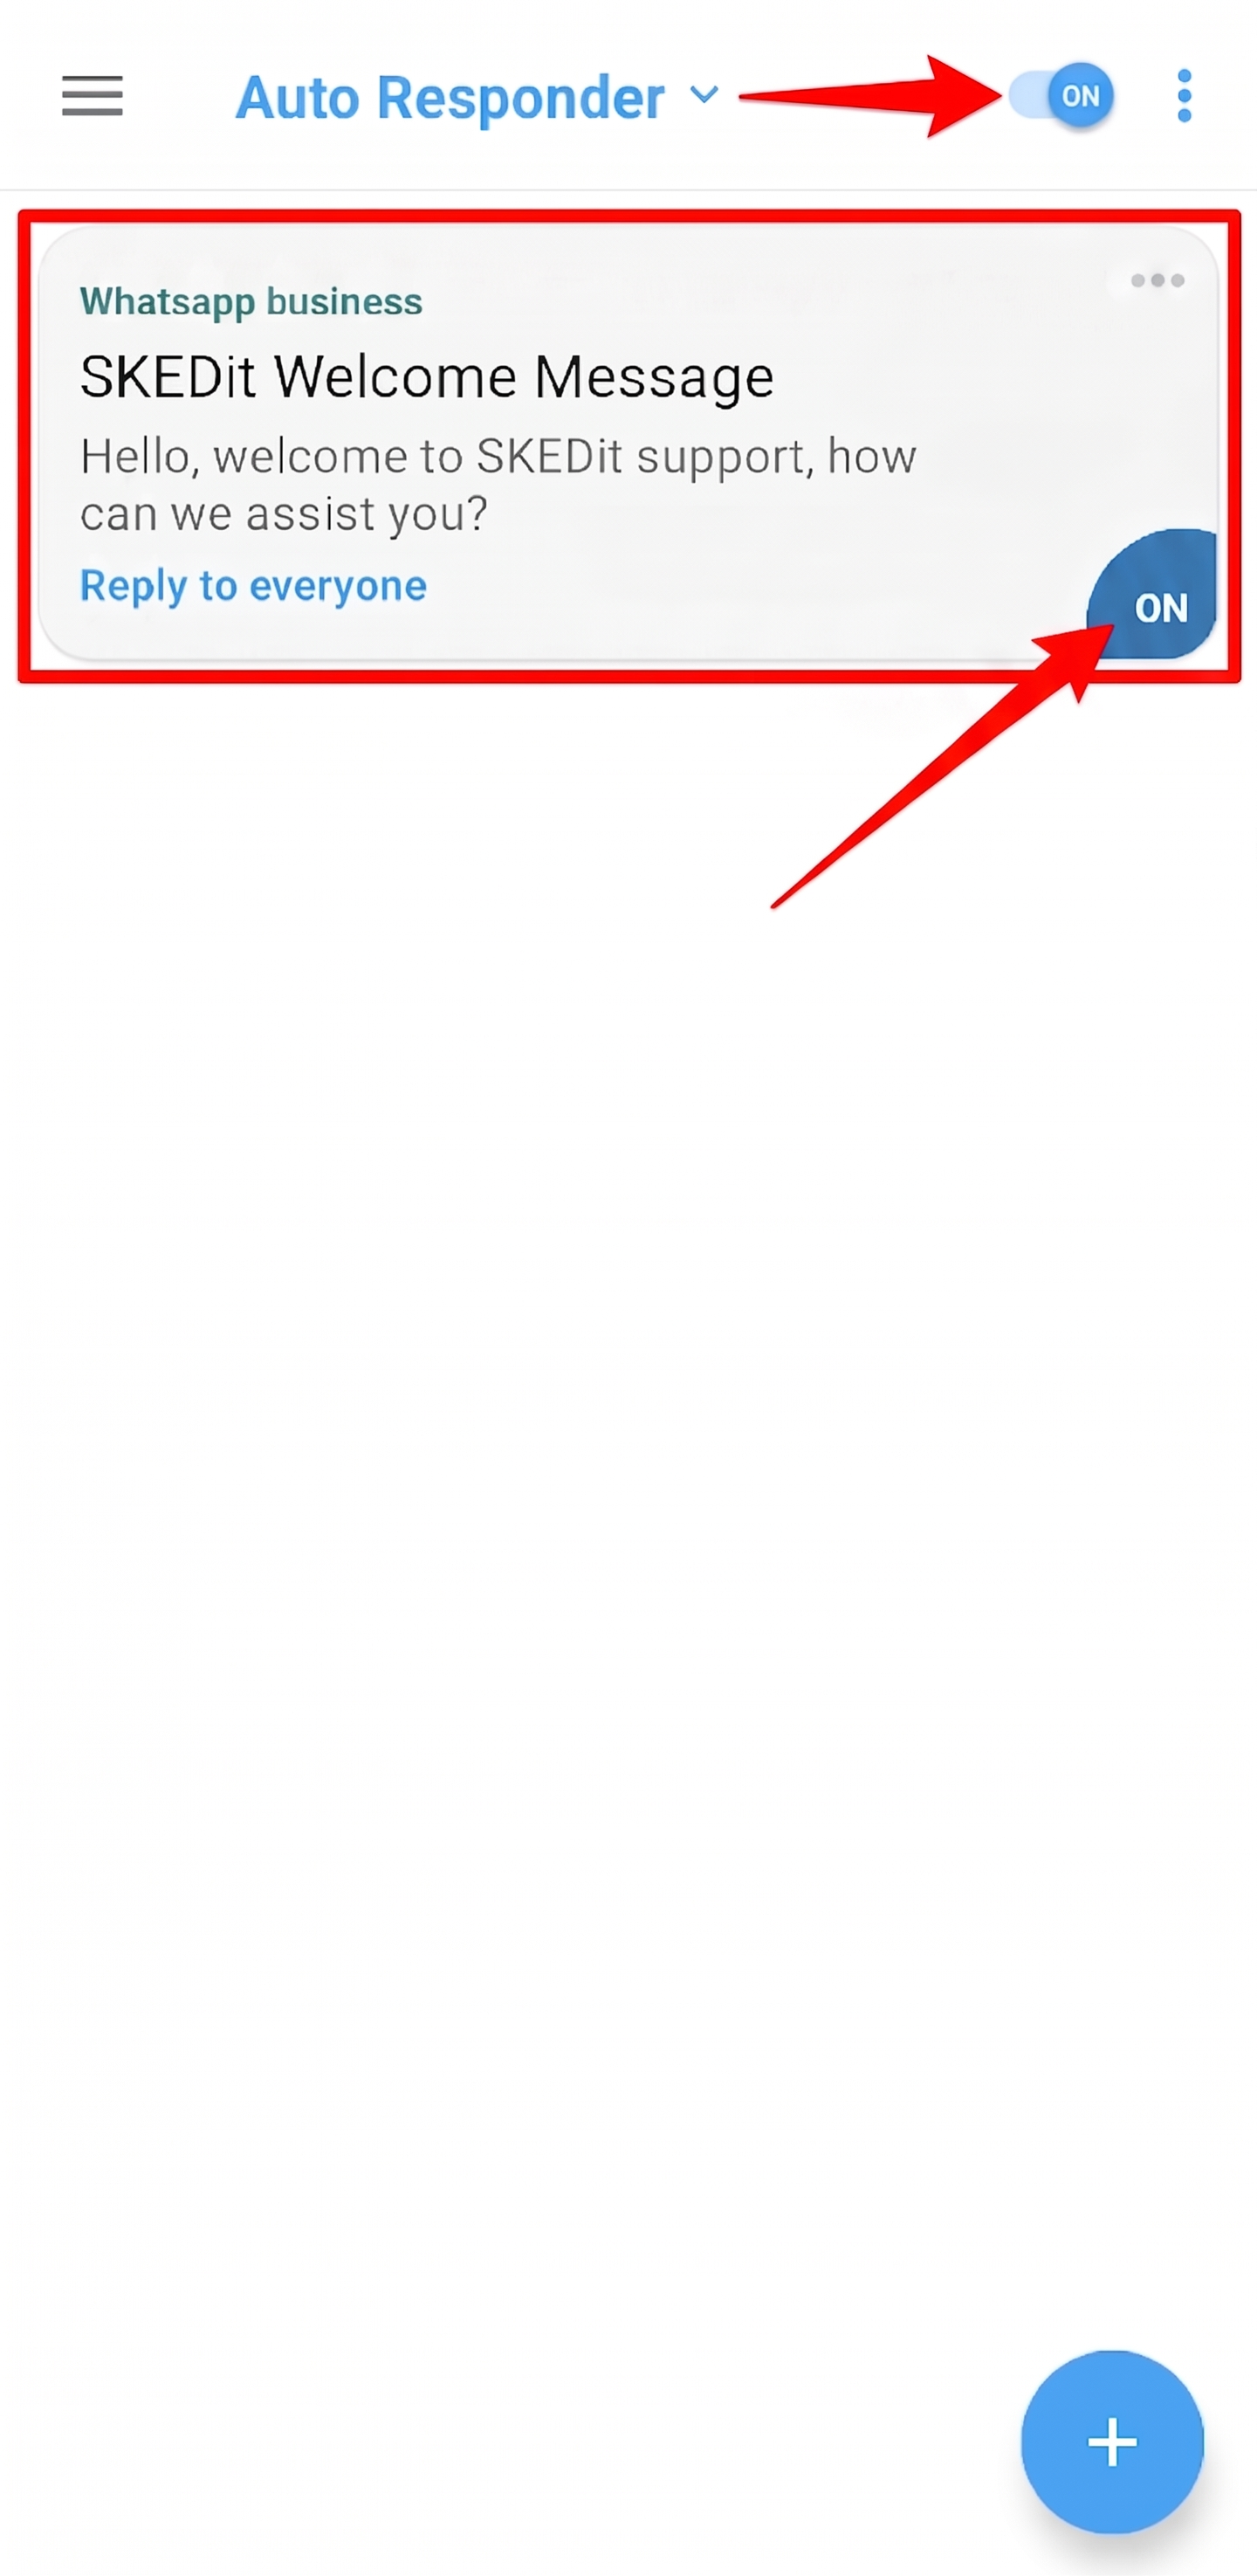
11. Turn On All Toggles
On the Auto Responder rule list, make sure all ON toggles are enabled — both the main Auto Responder toggle at the top and the toggle on each created rule — to activate the auto-reply.
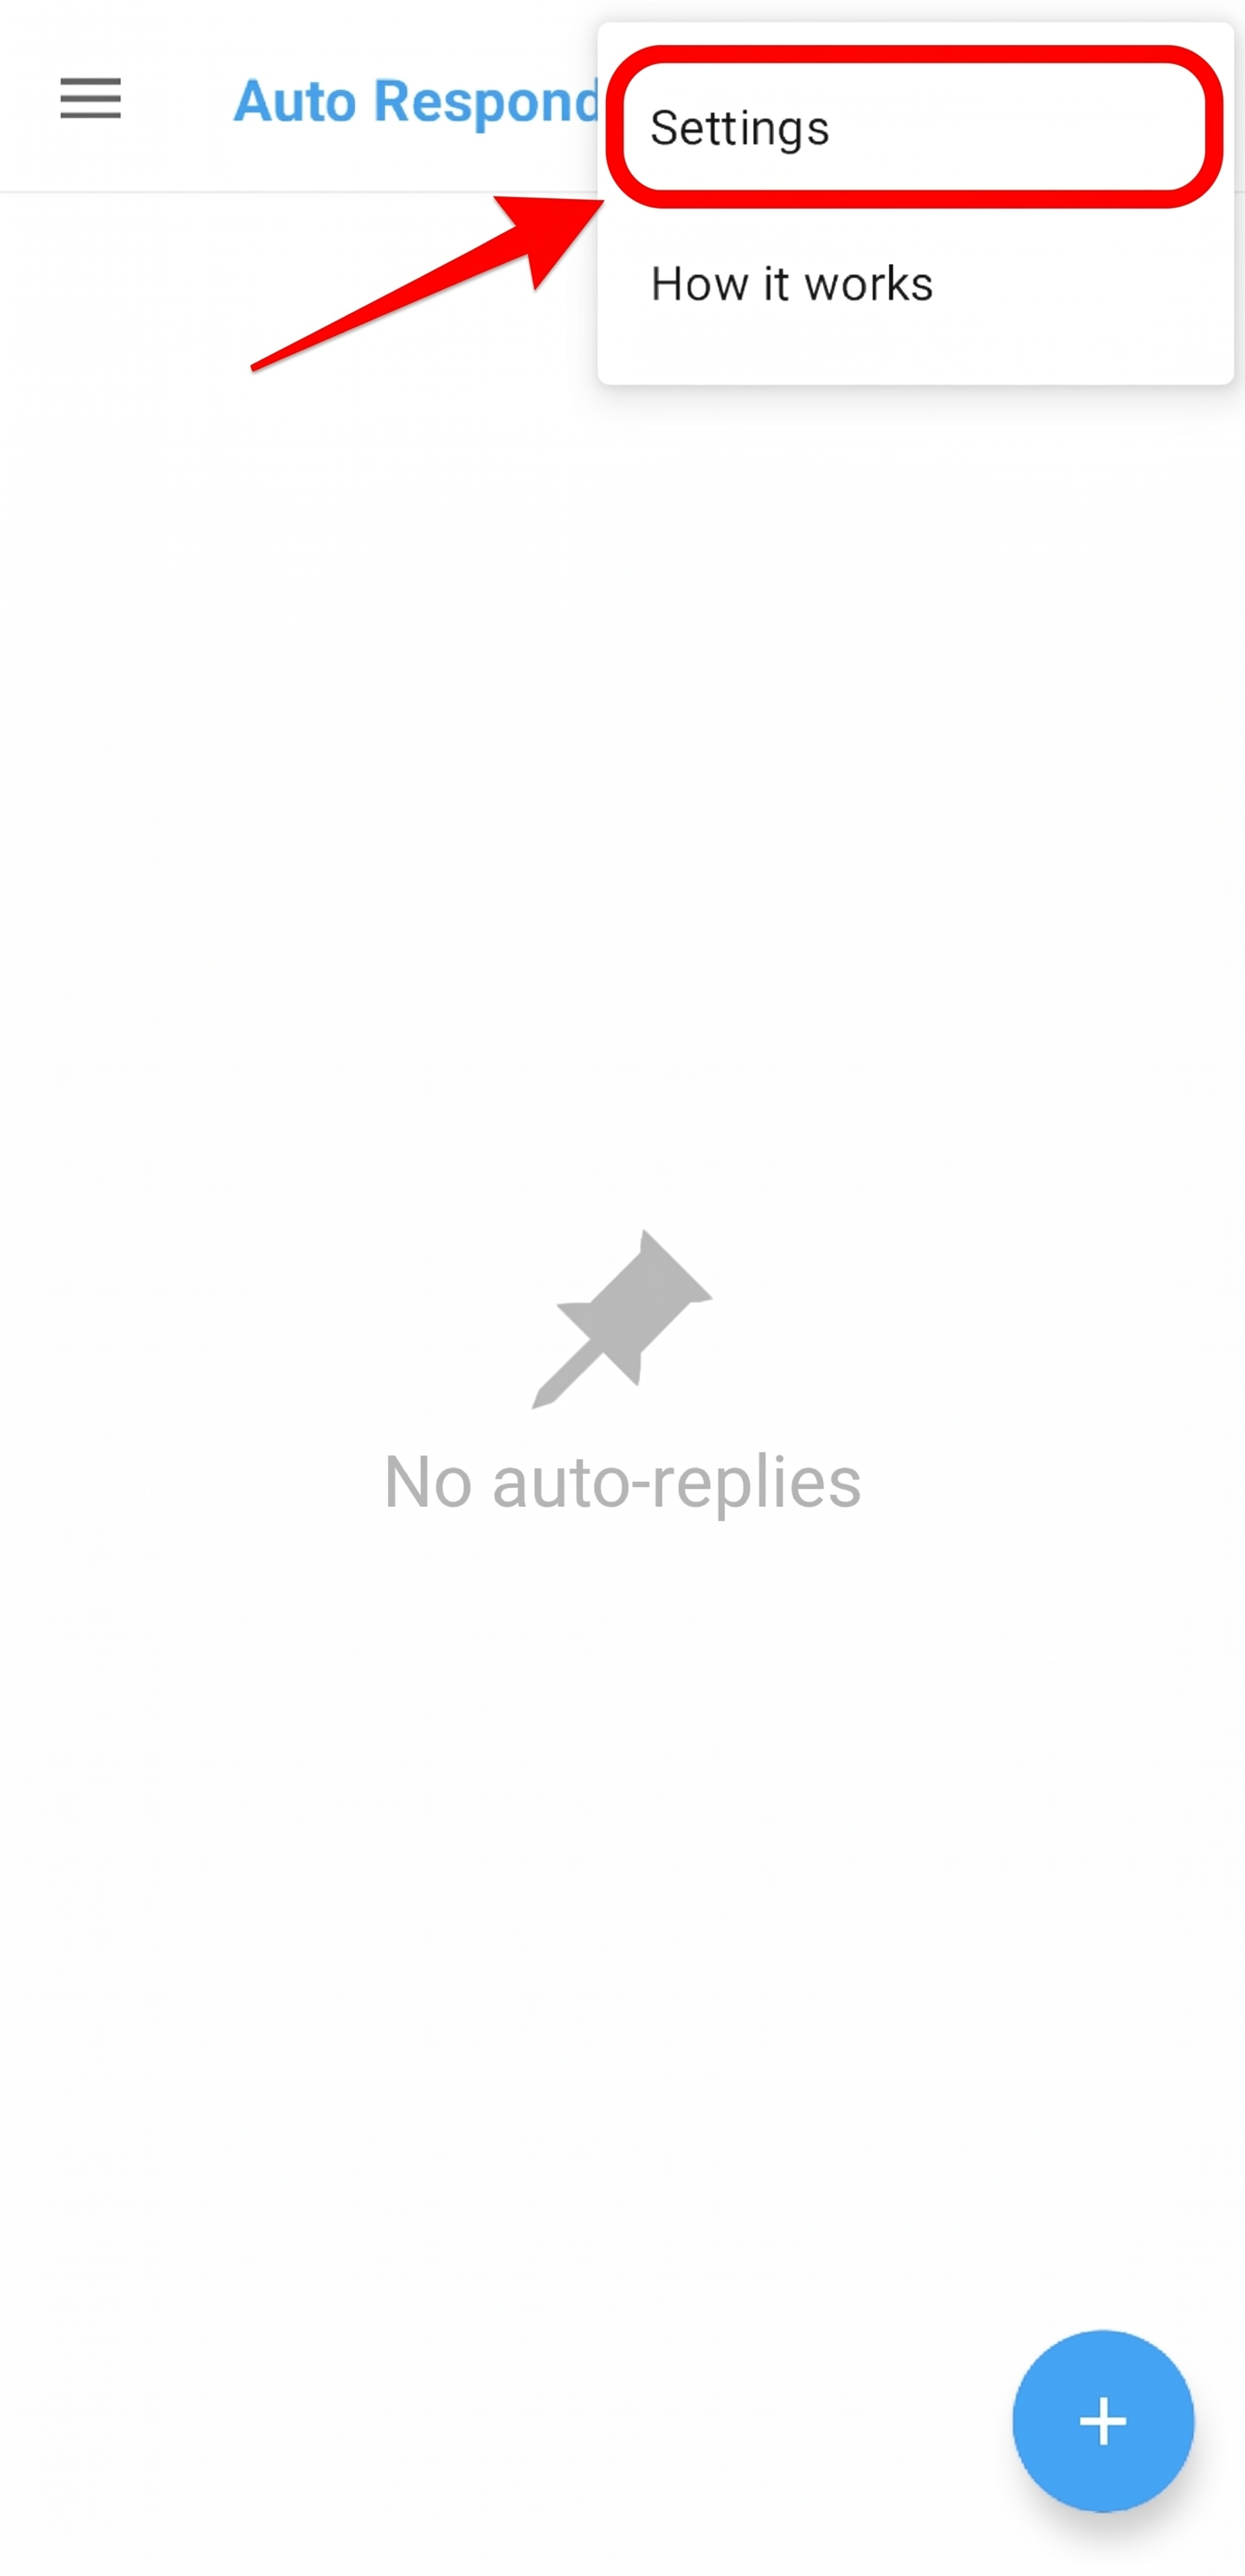
12. Open Auto-Responder Settings
Tap the three-dot menu at the top right corner of the Auto Responder screen and choose Settings.
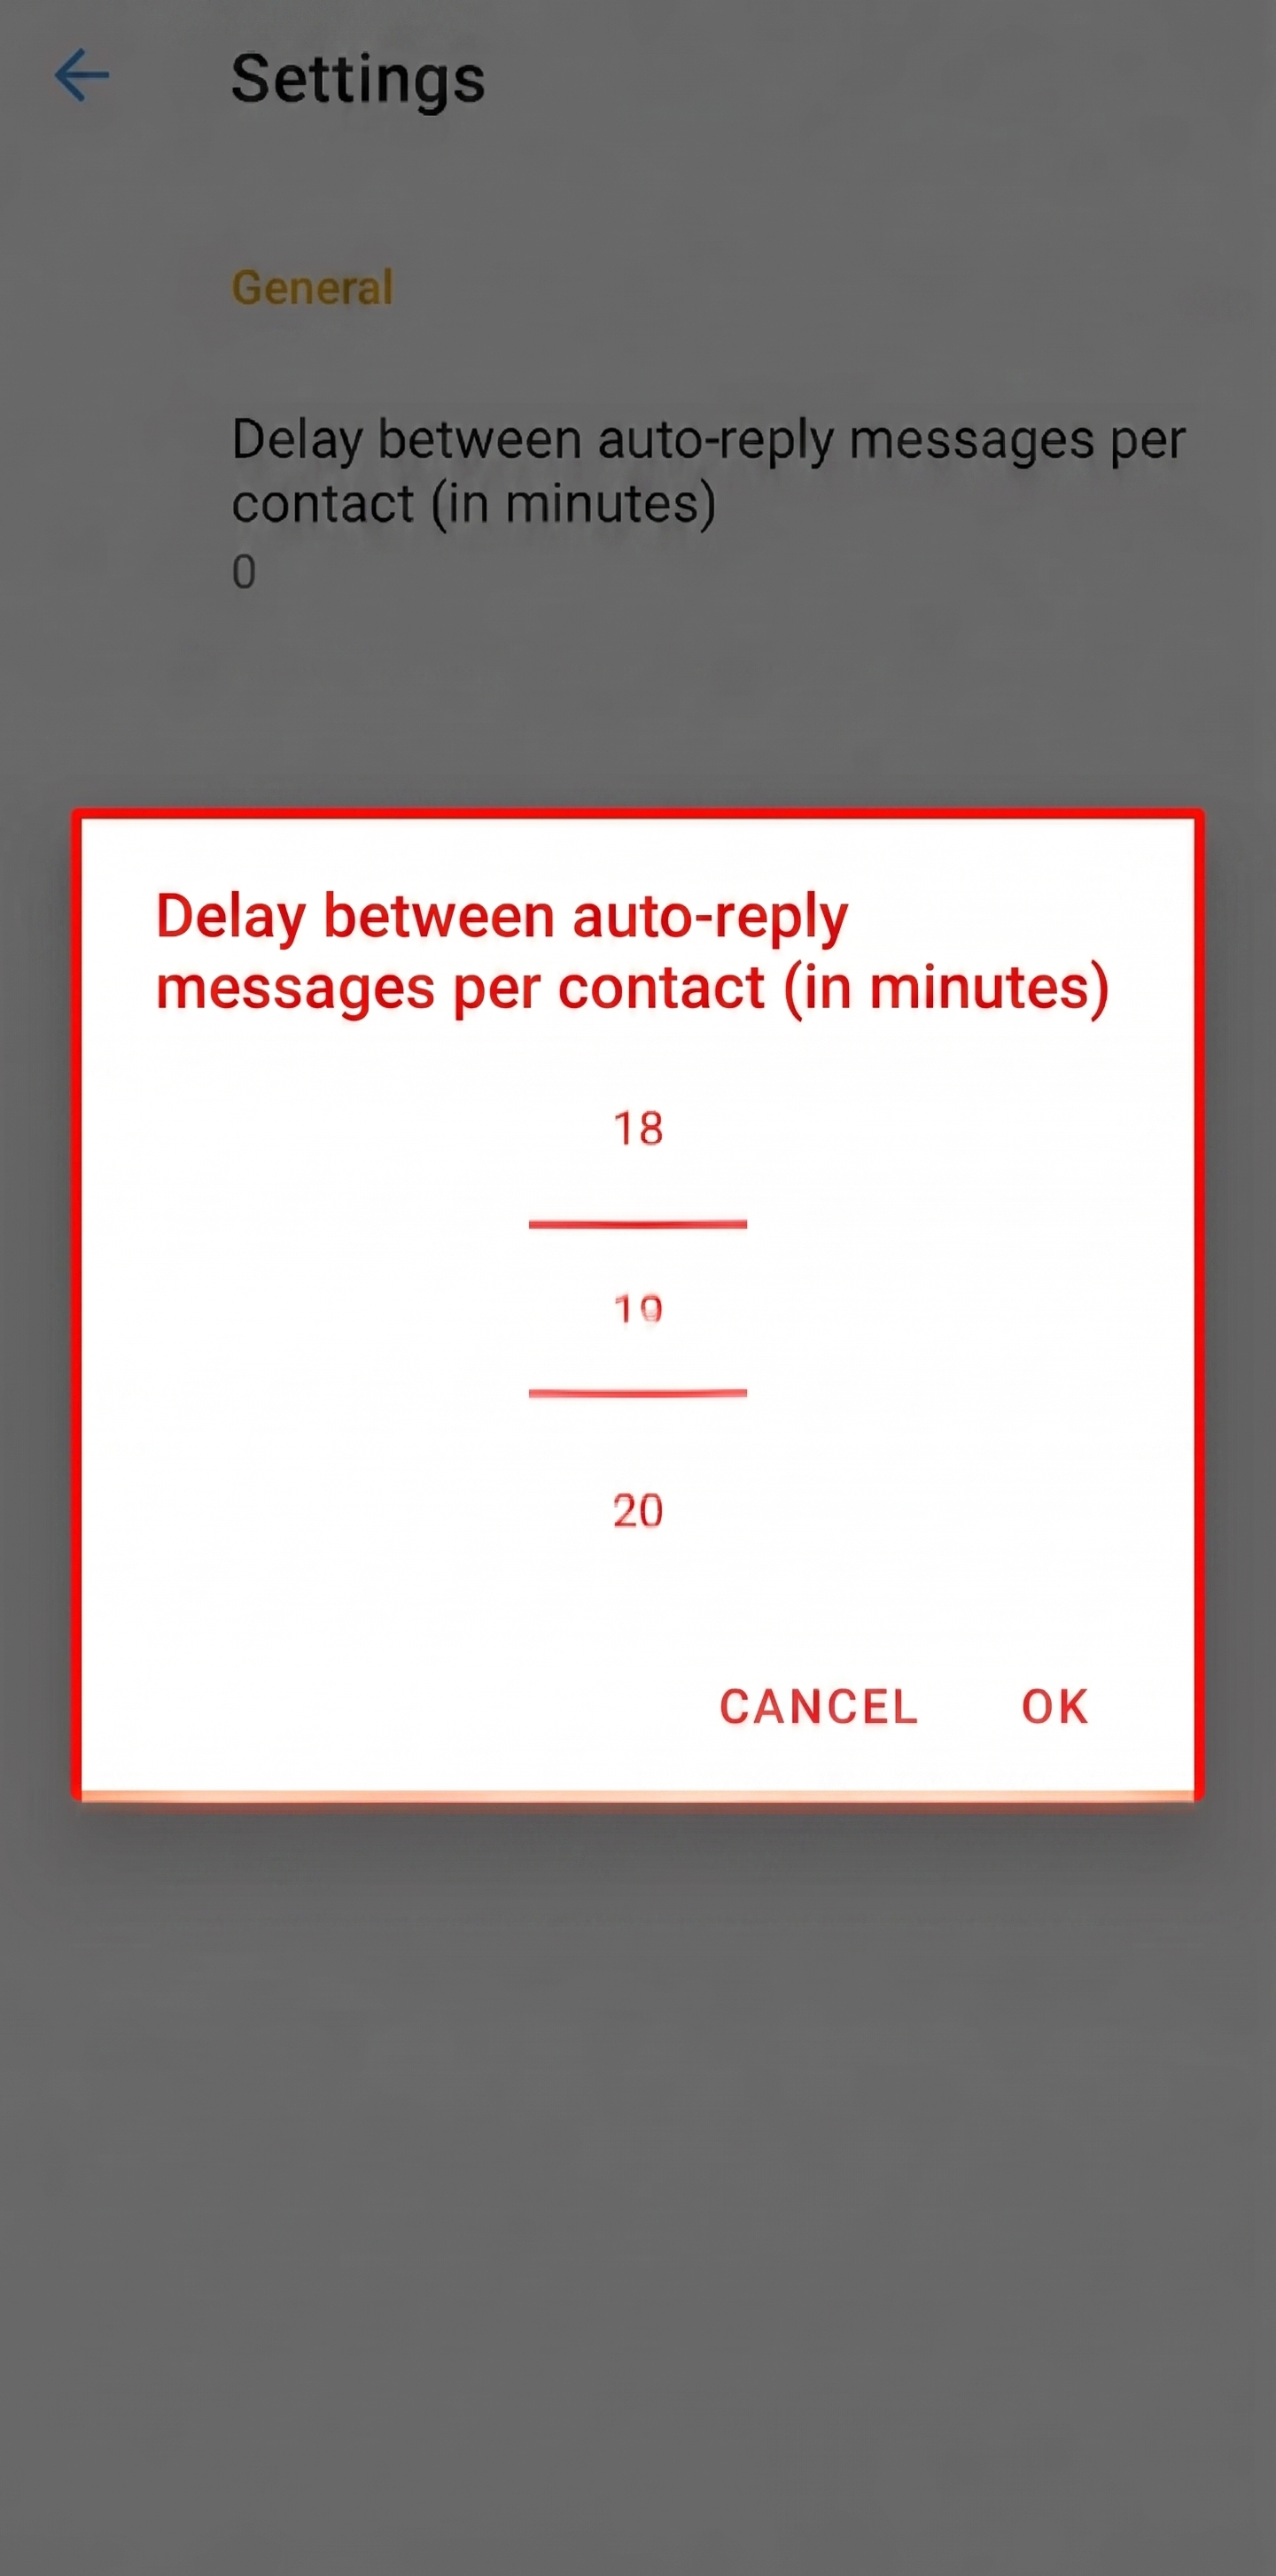
13. Set the Delay Between Auto-Replies Per Contact
Set the Delay between auto-reply messages per contact (in minutes) to your preferred value.
This delay prevents the same contact from receiving repeated auto-replies. For example, if a recipient sends "hi" and the auto-reply is triggered, any additional messages from that same contact will not trigger another auto-reply until the delay time has passed.
Comments
1 comment
Hola Rosita
Please sign in to leave a comment.